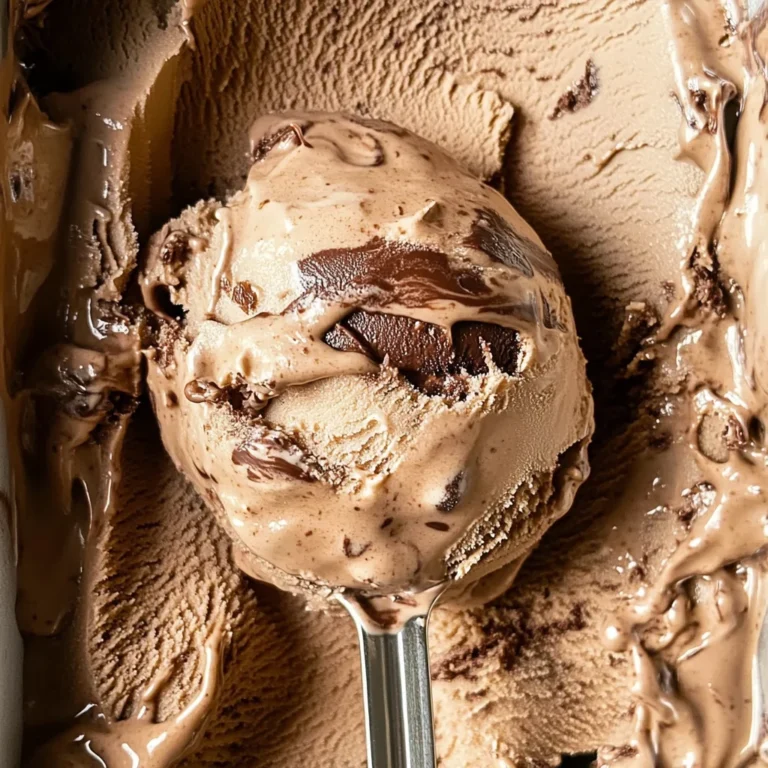
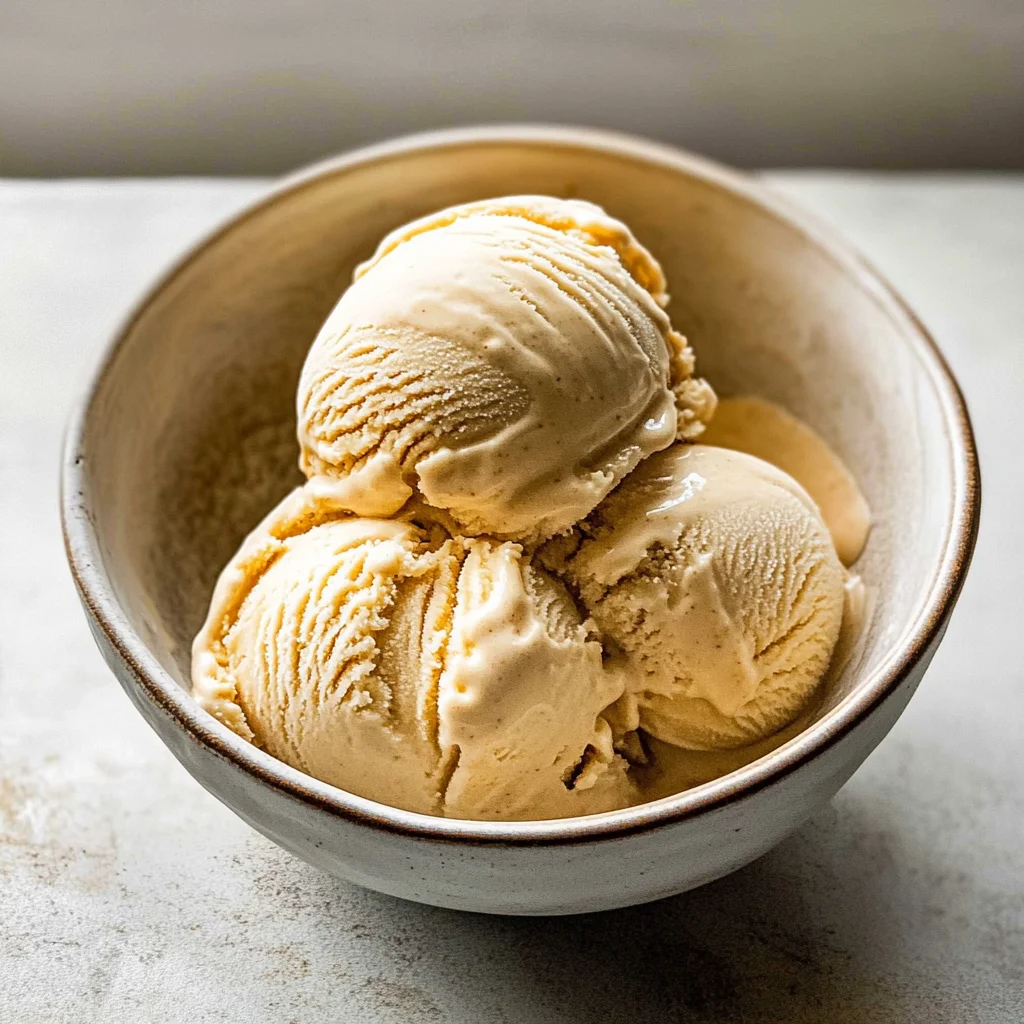
Homemade Maple Ice Cream
Homemade Maple Ice Cream is a delightful treat that brings the warmth of maple syrup to your dessert table. This creamy, silky smooth ice cream is perfect for special occasions or just a sweet indulgence on a warm day. With its light maple flavor, it pairs wonderfully with various desserts, especially apple crisp. Make this easy recipe at home and enjoy a taste of pure bliss!
Why You’ll Love This Recipe
- Simple Preparation: This recipe is straightforward and requires minimal effort, making it perfect for beginners.
- Irresistible Flavor: The rich taste of maple syrup ensures an unforgettable ice cream experience that will satisfy your sweet tooth.
- Versatile Pairing: Enjoy it alone or as a topping for pies, cakes, and other desserts for an extra special touch.
- Creamy Texture: The combination of half and half and heavy cream creates an ultra-creamy consistency that melts in your mouth.
- Large Batch: This recipe yields 12 servings, making it great for sharing at gatherings or family dinners.
Tools and Preparation
To create your Homemade Maple Ice Cream, you’ll need a few essential tools. Having the right equipment ensures a smooth cooking process and the best possible results.
Essential Tools and Equipment
- Ice cream maker
- Mixing bowls
- Whisk
- Saucepan
- Strainer
Importance of Each Tool
- Ice cream maker: This tool is crucial for achieving that creamy texture by churning the mixture while freezing.
- Mixing bowls: These are essential for combining ingredients smoothly without any lumps.
- Whisk: A whisk helps incorporate air into the mixture, resulting in a lighter ice cream.
- Strainer: Using a strainer ensures that your ice cream base is silky smooth by removing any bits of cooked egg.

Ingredients
To make your delicious Homemade Maple Ice Cream, gather the following ingredients:
For the Base
- 6 egg yolks
- 3/4 cup maple syrup (Grade B)
- 1 tsp arrowroot (tapioca starch or cornstarch)
- 1/4 tsp sea salt
Dairy Ingredients
- 1 1/2 cups half and half
- 1 1/2 cups heavy cream
- 1 tsp vanilla extract
How to Make Homemade Maple Ice Cream
Step 1: Prepare the Base
Begin by whisking together the egg yolks, maple syrup, arrowroot, and sea salt until fully combined.
Step 2: Combine with Dairy
Whisk the half and half into the egg mixture. Cook over medium-high heat while constantly whisking until the mixture thickens but does not boil.
Step 3: Add Cream and Vanilla
Once thickened, immediately remove the pan from heat. Whisk in the heavy cream and vanilla extract until fully blended.
Step 4: Strain the Mixture
Pour the mixture through a strainer to eliminate any stray bits. Chill the custard in the refrigerator for at least 4 hours to enhance flavor development.
Step 5: Freeze in Ice Cream Maker
Follow your ice cream machine’s instructions to freeze the chilled custard. The ice cream is ready when it can stand up on a spoon.
Step 6: Final Freeze
Remove the ice cream from the machine and transfer it to a container. Place it in the freezer for an additional 4–6 hours to ensure it’s fully set before serving.
With these simple steps, you can create your very own Homemade Maple Ice Cream! Enjoy this delectable treat with friends and family anytime you want a sweet escape.
How to Serve Homemade Maple Ice Cream
Serving Homemade Maple Ice Cream can elevate any dessert experience. This creaminess, coupled with a light maple flavor, makes it an excellent choice for various pairings and presentations.
With Fresh Fruits
- Berries: Serve with strawberries, blueberries, or raspberries for a fresh and tangy contrast.
- Bananas: Slice ripe bananas to add a creamy, sweet touch that complements the maple flavor.
Over Apple Crisp
- Apple Crisp: Serve a scoop on top of warm apple crisp to enhance the warm spices and buttery flavors of the dessert.
In a Sundae
- Sundae Creation: Create a delightful sundae with your favorite toppings like nuts, whipped cream, and chocolate drizzle for added indulgence.
With Cookies
- Cookies: Pair with chocolate chip or oatmeal cookies for a delightful cookie sandwich treat.
In a Milkshake
- Milkshake Delight: Blend with milk and ice for a rich maple ice cream milkshake that’s perfect for hot days.
How to Perfect Homemade Maple Ice Cream
Creating the perfect Homemade Maple Ice Cream requires attention to detail. Here are some tips to ensure your ice cream is smooth and flavorful.
- Chill the Custard: Always chill your custard thoroughly before churning. This step helps achieve a creamy texture.
- Use Quality Maple Syrup: Opt for Grade B maple syrup for deeper flavor; it enhances the overall taste of your ice cream.
- Avoid Over-churning: Stop churning as soon as the ice cream holds its shape on a spoon. Over-churning can lead to icy textures.
- Store Properly: Place the ice cream in an airtight container in the freezer to prevent ice crystals from forming.
- Let it Soften Before Serving: Allow the ice cream to sit at room temperature for 5-10 minutes before scooping; this makes serving easier.
Best Side Dishes for Homemade Maple Ice Cream
Pairing side dishes with your Homemade Maple Ice Cream can create delightful combinations. Here are some great options:
- Warm Brownies: Rich chocolate brownies pair beautifully with maple’s sweetness.
- Pumpkin Pie: The spices in pumpkin pie complement the maple flavor perfectly.
- Pecan Pie: Serve alongside pecan pie for an indulgent dessert experience.
- Fruit Tart: A fresh fruit tart adds brightness and contrasts nicely with creamy ice cream.
- Chocolate Cake: The richness of chocolate cake balances out the lightness of maple ice cream.
- Carrot Cake: The spices from carrot cake harmonize well with maple’s subtle sweetness.
- Shortbread Cookies: These buttery cookies provide a crunchy texture that pairs nicely with creamy ice cream.
- Peach Cobbler: Warm peach cobbler offers fruity warmth that enhances the smoothness of maple ice cream.
Common Mistakes to Avoid
Making Homemade Maple Ice Cream can be a delightful experience, but there are some common pitfalls to watch out for.
- Skipping the chilling step: Ensuring the custard is well-chilled before freezing gives you a smoother texture. Don’t rush this process; chill for at least 4 hours.
- Not whisking constantly: When cooking the mixture, constant whisking prevents it from sticking to the bottom and burning. Stay attentive during this crucial step.
- Using low-quality maple syrup: The flavor of your ice cream hinges on the quality of maple syrup used. Opt for Grade B maple syrup for a richer taste.
- Overfilling the ice cream machine: Filling your machine beyond its capacity leads to uneven freezing. Follow the manufacturer’s recommended guidelines for best results.
- Not straining the mixture: Straining removes any clumps or bits from the custard, ensuring a silky finish. Don’t skip this step for a creamy ice cream.
- Freezing too long without stirring: If you leave your ice cream in the freezer for too long without stirring, it can become too hard. Stir occasionally during the freezing process if possible.
Storage & Reheating Instructions
Refrigerator Storage
- Store in an airtight container to maintain freshness.
- Consume within 3 days for best flavor and texture.
Freezing Homemade Maple Ice Cream
- Keep in a freezer-safe container with a lid tightly sealed.
- Best enjoyed within 1 month for optimal taste.
Reheating Homemade Maple Ice Cream
- Oven: Preheat to low heat; place ice cream in an oven-safe dish covered with foil until slightly softened.
- Microwave: Use short bursts at low power, checking frequently to prevent melting too much.
- Stovetop: Place ice cream in a saucepan over low heat, stirring gently until softened.
Frequently Asked Questions
Here are some common questions about making Homemade Maple Ice Cream.
How can I make Homemade Maple Ice Cream dairy-free?
You can substitute half and half and heavy cream with coconut milk or other plant-based creams for a delicious dairy-free version.
What type of maple syrup should I use?
Opt for Grade B maple syrup as it has a deeper flavor that enhances your homemade ice cream.
Can I add mix-ins to Homemade Maple Ice Cream?
Absolutely! Consider adding nuts, chocolate chips, or pieces of fresh fruit just before freezing for added texture and flavor.
How long does Homemade Maple Ice Cream last?
When stored properly, it will last up to one month in the freezer.
Final Thoughts
Homemade Maple Ice Cream is not only creamy and delicious but also versatile. You can enjoy it on its own or pair it with desserts like apple crisp. Feel free to customize your recipe with mix-ins or toppings to suit your taste!
Homemade Maple Ice Cream
Indulge in the creamy goodness of Homemade Maple Ice Cream, a delightful treat that captures the essence of pure maple syrup. This easy-to-make dessert is perfect for warm days or special occasions, offering a silky smooth texture and rich flavor that will satisfy any sweet craving. Pair it with fresh fruits or enjoy it atop desserts like apple crisp for an unforgettable experience. With its simple preparation process and versatile serving options, this homemade ice cream is sure to become a favorite in your dessert repertoire.
- Prep Time: 10 minutes
- Cook Time: 10 minutes
- Total Time: 20 minutes
- Yield: Approximately 12 servings 1x
- Category: Dessert
- Method: Churning
- Cuisine: American
Ingredients
- 6 egg yolks
- 3/4 cup Grade B maple syrup
- 1 tsp arrowroot (tapioca starch or cornstarch)
- 1/4 tsp sea salt
- 1 1/2 cups half and half
- 1 1/2 cups heavy cream
- 1 tsp vanilla extract
Instructions
- In a mixing bowl, whisk together egg yolks, maple syrup, arrowroot, and sea salt until well combined.
- Gradually whisk in the half and half. Cook over medium-high heat while constantly whisking until slightly thickened; do not boil.
- Remove from heat and stir in heavy cream and vanilla extract.
- Strain the mixture through a fine sieve to remove any lumps and chill in the refrigerator for at least 4 hours.
- Freeze the chilled custard in an ice cream maker according to manufacturer instructions.
- Transfer to a container and freeze for an additional 4–6 hours until firm.
Nutrition
- Serving Size: 1/2 cup (120g)
- Calories: 290
- Sugar: 24g
- Sodium: 50mg
- Fat: 20g
- Saturated Fat: 12g
- Unsaturated Fat: 7g
- Trans Fat: 0g
- Carbohydrates: 29g
- Fiber: 0g
- Protein: 3g
- Cholesterol: 180mg